Optimal Timing for Can Light Installation
Installing can lights requires careful planning to ensure optimal placement and safety. The best time to undertake can lights installations depends on various factors including home renovation schedules, electrical work timelines, and seasonal considerations.
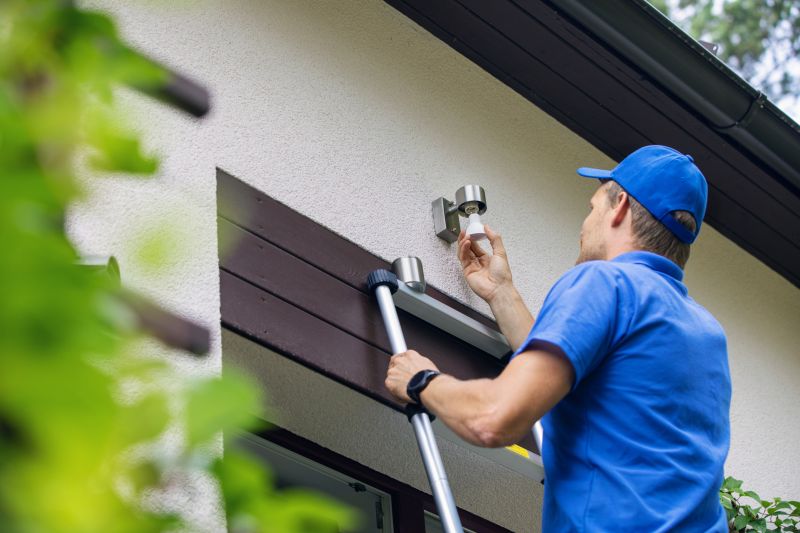
Spring and fall are preferred seasons due to moderate weather conditions, making outdoor access easier for electrical work.
Coordinate with major renovation projects to minimize disruptions and ensure electrical wiring is properly integrated.
Install can lights during interior framing or drywall stages for easier access and cleaner installation.
Ensure the electrical system is prepared before installation to avoid delays and rework.

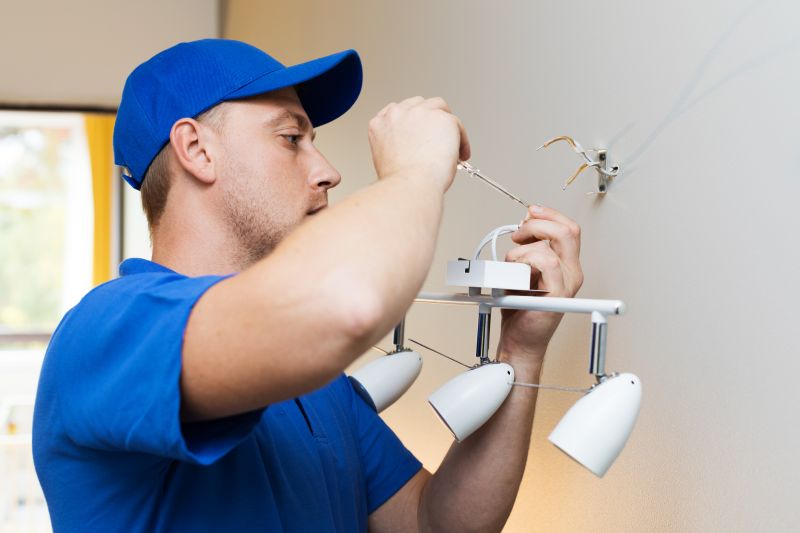
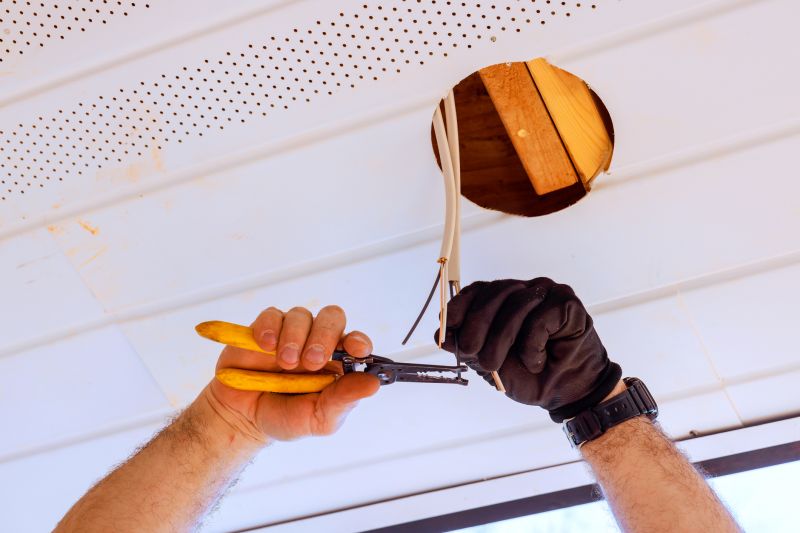
Professional installation involves precise cutting and wiring within the ceiling structure.

Electrical wiring is integrated during framing, ensuring safety and compliance.

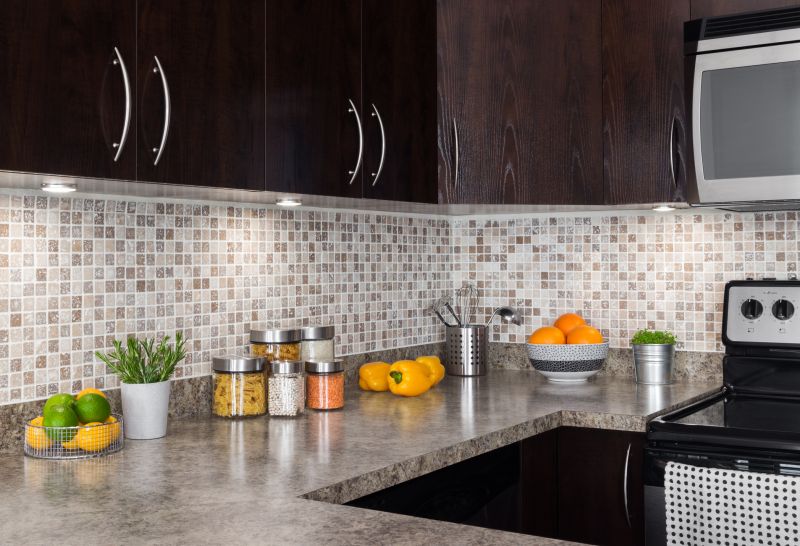
Completed installations provide uniform lighting and enhanced room aesthetics.

Ways to make Can Lights Installations work in tight or awkward layouts.

Popular materials for Can Lights Installations and why they hold up over time.
Simple add-ons that improve Can Lights Installations without blowing the budget.
| Aspect | Details |
|---|---|
| Optimal Seasons | Spring and fall offer mild weather for easier access and safety. |
| Construction Stage | Install during framing or drywall for best results. |
| Electrical Readiness | Ensure electrical wiring is prepared beforehand. |
| Seasonal Avoidance | Avoid peak holiday periods and extreme weather. |
| Coordination with Renovations | Align with other home improvement projects. |
| Indoor Conditions | Ensure indoor temperature and humidity are suitable for work. |
| Project Timeline | Plan installation to fit within renovation schedules. |
| Availability of Contractors | Book during periods with high contractor availability. |
Can lights are a popular choice for modern lighting due to their sleek appearance and ability to provide uniform illumination. Proper installation ensures safety, optimal lighting distribution, and aesthetic appeal. The process involves precise cutting, electrical wiring, and finishing to achieve a seamless look. Timing the installation during appropriate construction phases or seasons can improve efficiency and reduce costs.

A ceiling fitted with multiple can lights for balanced illumination.

Wiring setup within the ceiling for safe and effective lighting.

A completed setup showcasing clean and even lighting.

Technicians working on ceiling installation process.

High-end options that actually feel worth it for Can Lights Installations.
Finishes and colors that play nicely with Can Lights Installations.

Little measurements that prevent headaches on Can Lights Installations day.
A 60-second routine that keeps Can Lights Installations looking new.
A frequent mistake in Can Lights Installations and how to dodge it.

Small tweaks to make Can Lights Installations safer and easier to use.
Lower-waste or water-saving choices for Can Lights Installations.

The short, realistic tool list for quality Can Lights Installations.
Interested in upgrading lighting with can lights? Filling out the contact form can provide more information and help schedule an installation at a convenient time. Proper timing and professional installation can enhance the ambiance and functionality of any space.