Can Lights Installation Services Overview
Visitors will learn how local contractors handle Can Lights installation and how to compare their services.
- - Residential homeowners seeking modern lighting upgrades for kitchens, living rooms, or hallways.
- - Commercial property managers looking to enhance office spaces or retail environments with efficient can lighting.
- - Contractors and builders needing reliable local pros for installing can lights in new construction or renovation projects.

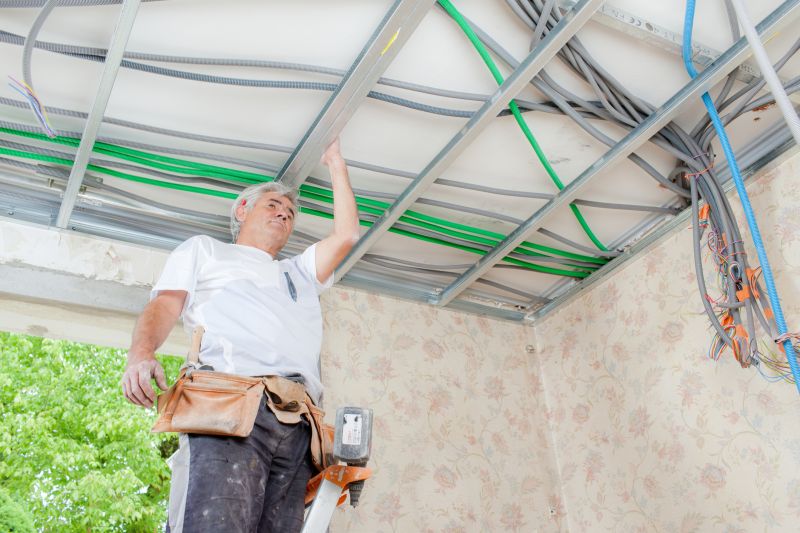
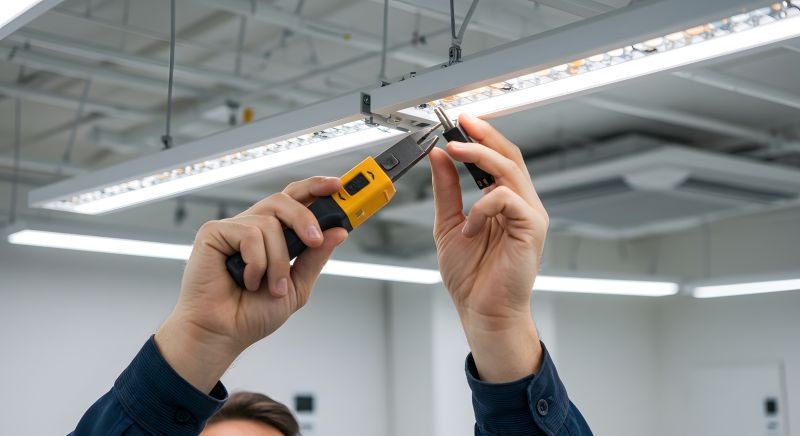
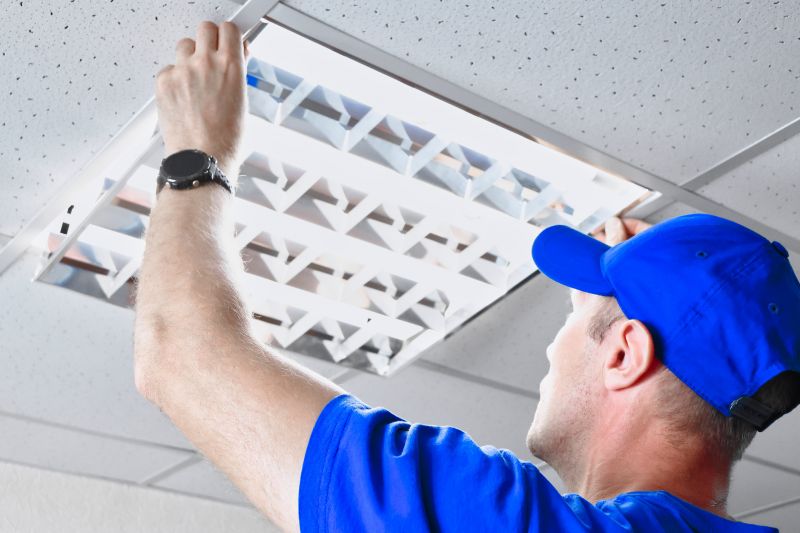
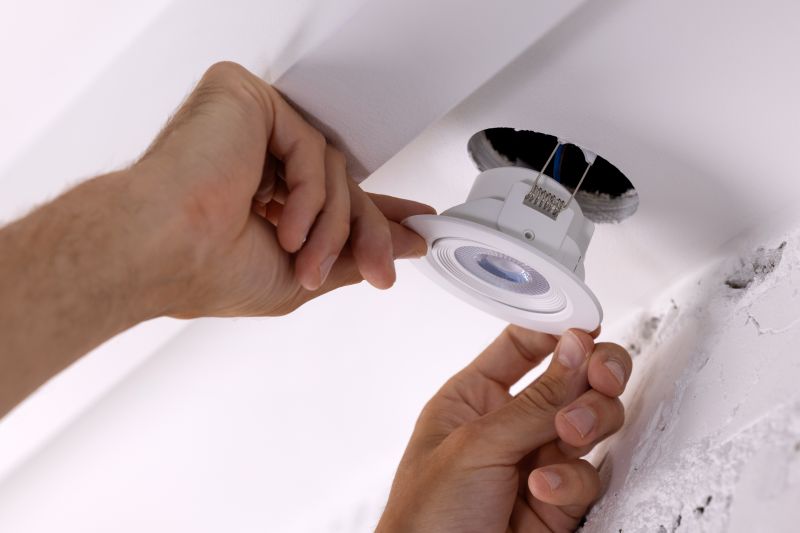
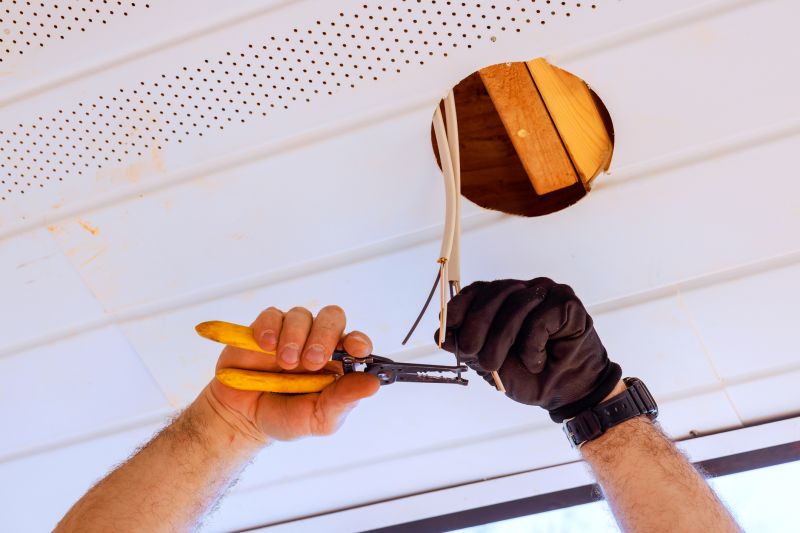
Can lights installation involves adding recessed lighting fixtures into ceilings to enhance illumination and aesthetic appeal within a space. Property owners often seek assistance when upgrading existing lighting, creating new lighting layouts, or addressing issues with current setups. Local contractors and service providers specializing in lighting installation can handle a variety of projects, from small-scale updates to comprehensive lighting plans, ensuring that the work is completed according to the specific needs of each property.
These professionals typically assess the layout and electrical systems of a property to determine the best placement and type of can lights for the space. They can provide guidance on fixture selection, wiring, and installation techniques to achieve the desired lighting effect. Connecting with experienced local pros ensures that the installation process is managed efficiently and safely, helping property owners achieve functional and visually appealing lighting solutions tailored to their environment.
This guide provides helpful information to understand can lights installation and what to expect during the process. It assists in comparing local contractors and understanding the basics of the work involved. Use this information to better prepare for connecting with service providers in your area.